Java Installation on Windows
In this tutorial, we will learn how to install java on windows by following step by step and an explanation of java environment variables like path and java home.
Installation steps of Java on windows
For installing java in windows, we need an executable which installs java on windows. To download executable, click on the link to download for windows or download the executable from the oracle website based on the version as it deemed, once the executable is downloaded.
Please follow the below steps.
Step 1:
Double click on the executable file jdk*windows*.exe file, to start installation.
Step 2:
It will prompt a question "Do you want to allow this app to make changes to your device?" click Yes to continue.
Step 3:
After pressing Yes, the following screen will be visible.
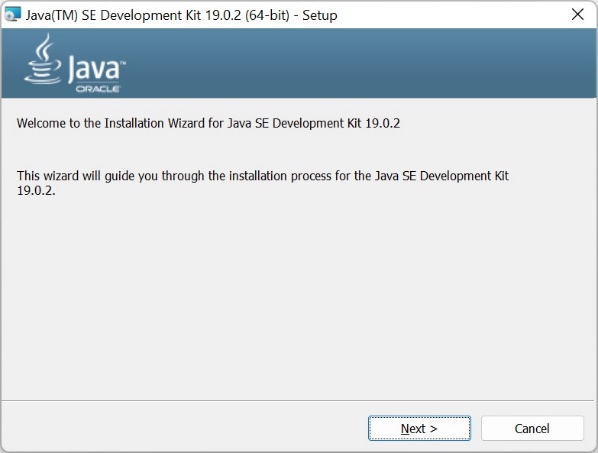
Press Next button.
Step 4:
After pressing Next button, you will see the following screen.
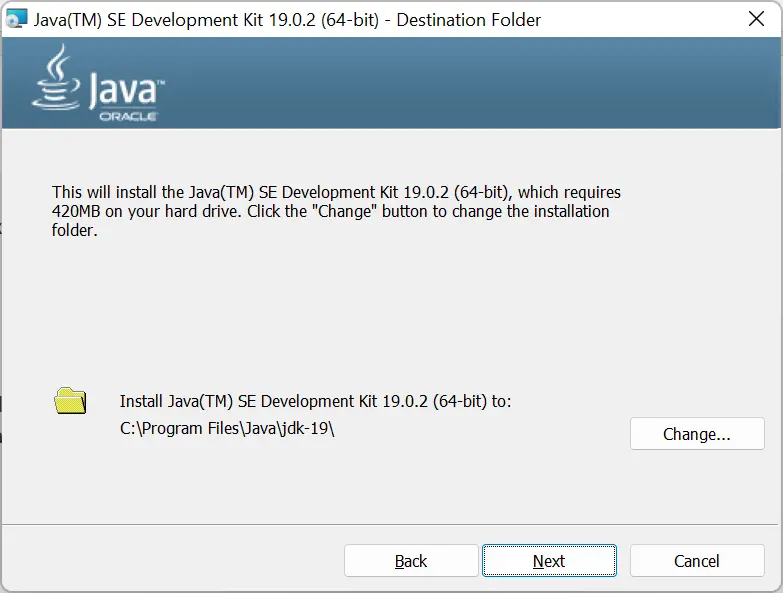
If you want to change the location, please click change button, select the desired location otherwise click Next button.
Step 5:
After pressing Next button, the following screen will be visible.
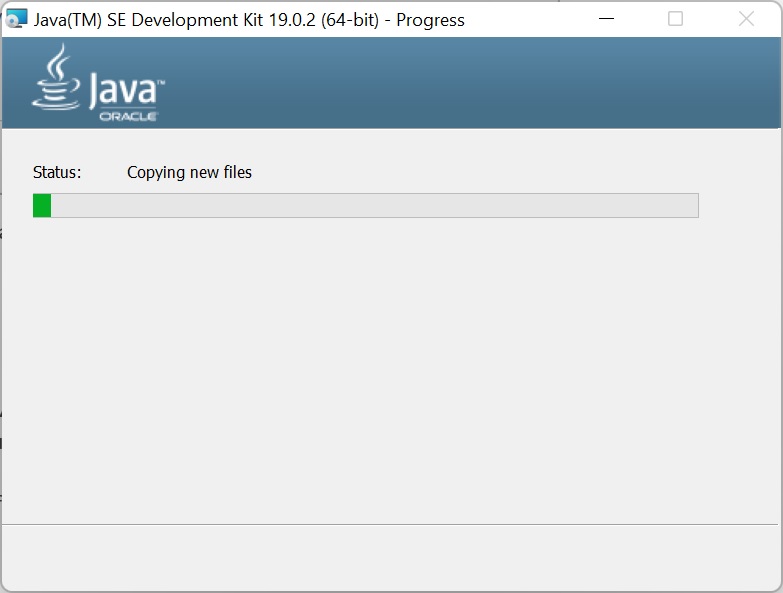
Now you can see, installation is progressing. Once installation is completed, the following screen will be visible.
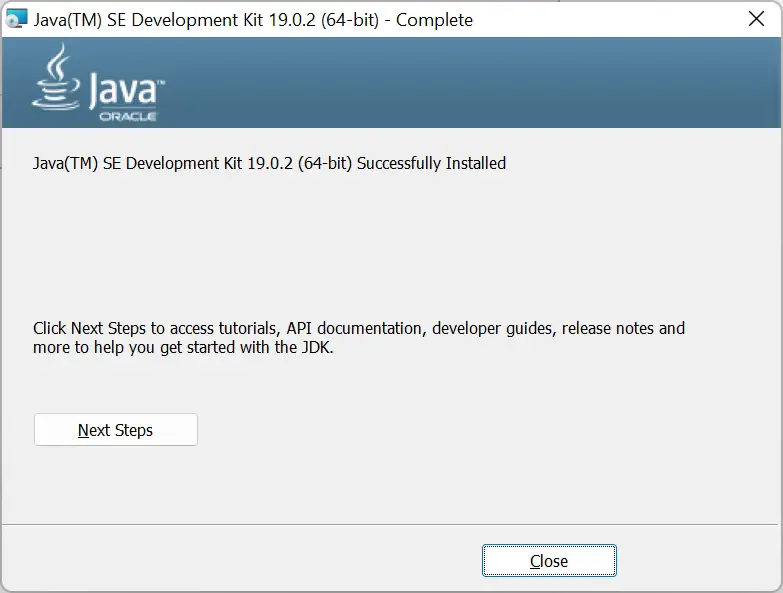
Once, you see the above screen it means Java is installed successfully on the windows machine. Please press Close button.
Setting environment variables for Java on windows
There are two environment variables will need to run the java from any location of the machine, those are JAVA_HOME and PATH variables.
In most of the cases, environment variables will be set while installing itself, in some cases it might not be set not sure the exact reason about not setting.
To validate the successful installation of Java on windows perform the following steps.
- Press windows start button.
- Type "command prompt".
- Open the Command prompt by clicking Open.
- Type java --version, you will see below output.

If you are getting error 'java' is not recognized as an internal or external command, as shown below.

If java version is printed as per the installed version, it means java installation is successful, ignore the following steps. In case you see an error saying 'java' is not recognized as an internal or external command
- Press windows start button.
- Type "view advanced system setting"
- Click open on "view advanced system setting" following window will prompt.
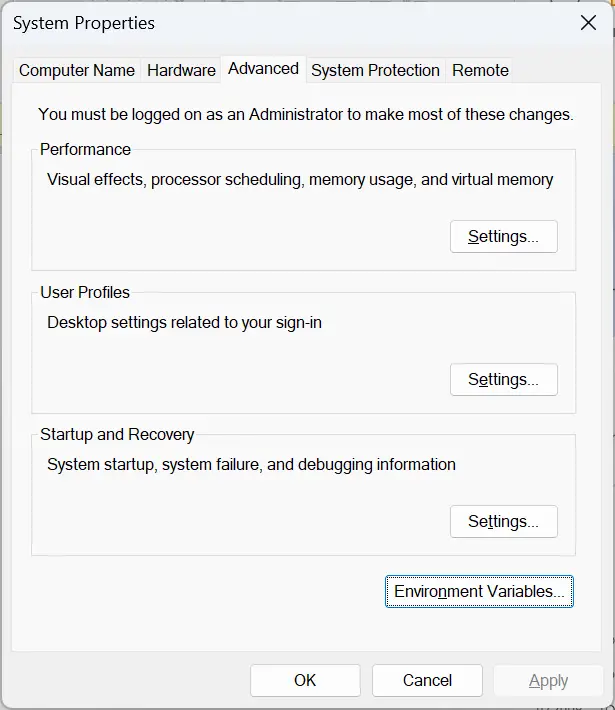
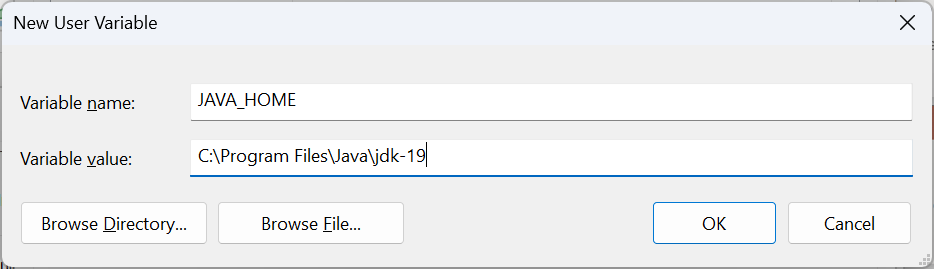
- Click on Environment Variables and click new button.
- Type variable name as JAVA_HOME
- Type variable value as java installed directory location. For reference check the following image.
- Now set the path variable, by default path variable will set for windows related to other installations.
- Just Click Edit button on path variable.
- Click New button and paste the bin directory location of Java, this will be present inside a java installed directory, for an example C:\Program Files\Java\jdk-19\bin
- After setting path variable also, you can close the window and check the java installation by opening new command prompt.
Conclusion:
In this tutorial, we have learnt about how to install Java on windows machine step by step and setting java environment variables if not set by default.